
Professional Portrait

Page 2/2
Set the blending mode in the layers palette on
Multiply. and Opacity to
95%
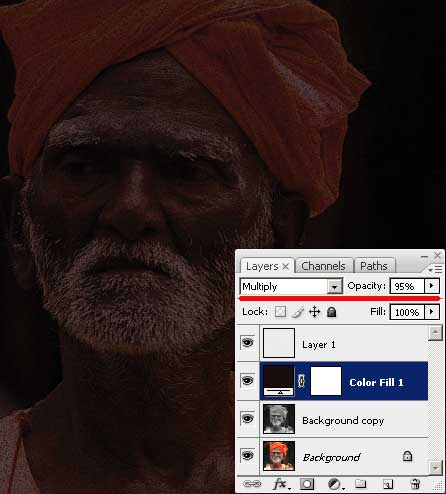
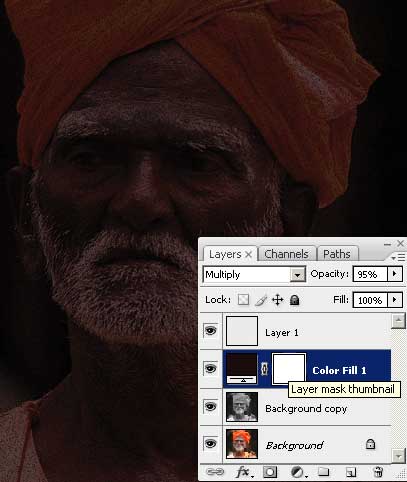
Now click on Layer Mask Thumbnail
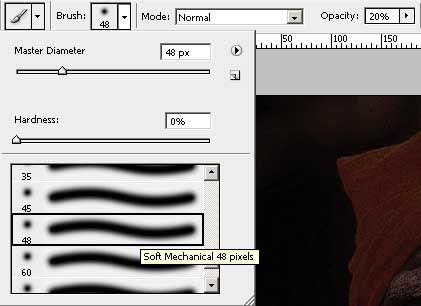
6. Take the Brush Tool (B) now.
Choose a brush with soft edges in the Brush Picker.
Please, be attentive with the foreground color which should be
totally black. Set the brushs Opacity on
20% value.
Well open the layer, backgrounds copy, by inserting accurately
brushstrokes on the face of the character and on the clothes.

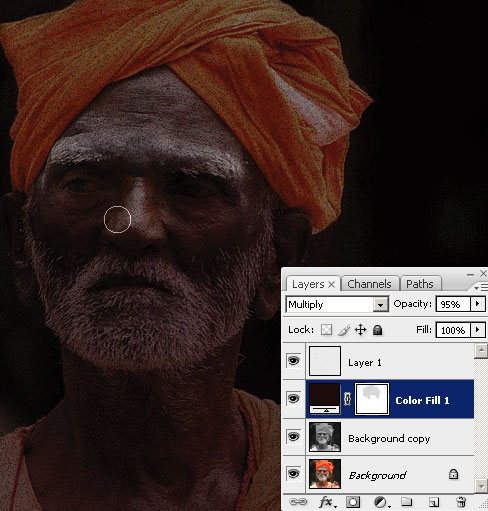


7. Having the brush on a small Opacity,
the picture may be lighter, if inserting more brushstrokes. Changing
the level of opacity, we may have some experiments with getting the
light on the characters face.
![]()

Try not to touch the dark area around the figure, situated in the
half shadow. If you by accident have affected the dark area, you
need in this case to change the foreground color on the white one
and only after toning back the zone in need.
8. Choose the next selection Layer>Flatten
Image and after that we'll add border to portrait. Choose
in the menu Image>Canvas Size (set foreground color
to white before that).

Final portrait

source : www.tutorialized.com