
Dreamy Mystical Photo Effect (page 1/2)

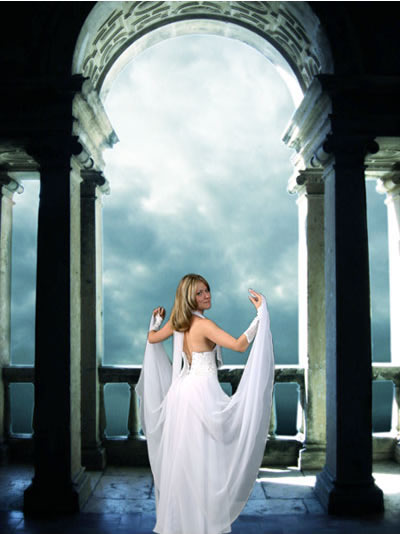
Photo 1:

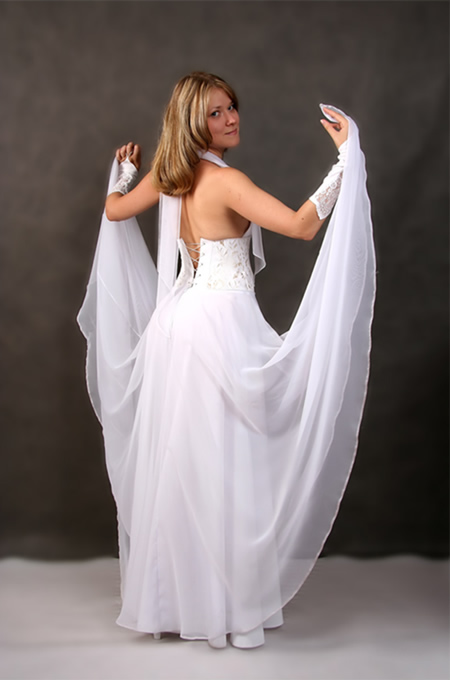
Photo 2:
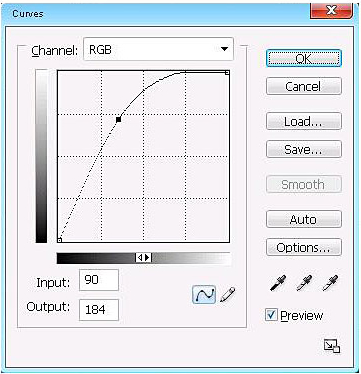
The first, you open Photo 1, press Ctrl+M to open Curves and do like this:
Now you open Photo 2, use any cutting tool to get the lady out of background

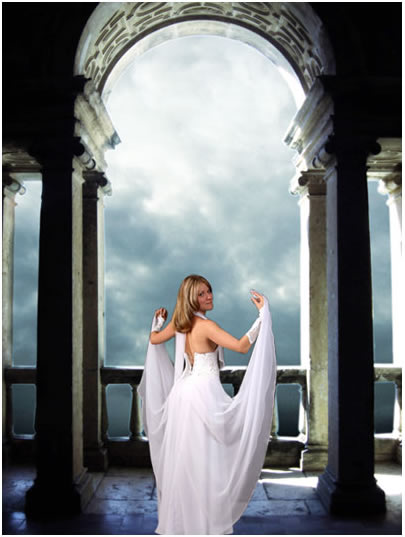
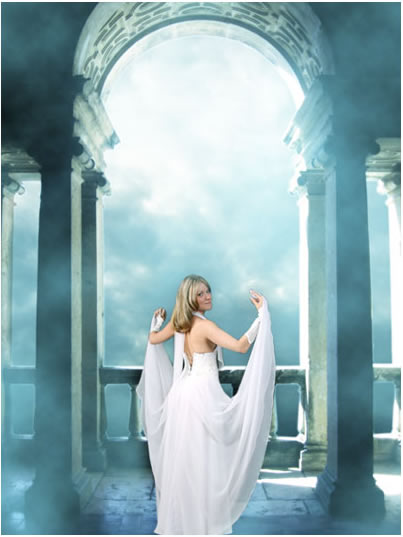
Move the lady to Photo 1 like this:
Press Ctrl+B to open Color Balance of layer Photo 2, set information like this:
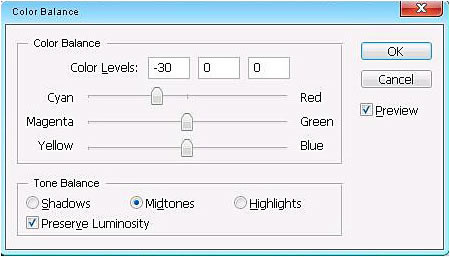
After that, you apply Color Balance to Photo 1 with information like the picture above
You will get:
Create a new layer, put new layer under Photo 2 and over Photo 1
Set Foreground and Background ( #74C9DD, #000000)

Go to Filter -> Render -> Cloud
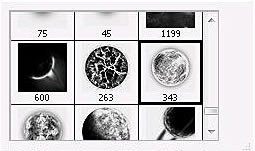
Open Brush tool then pick this brush:
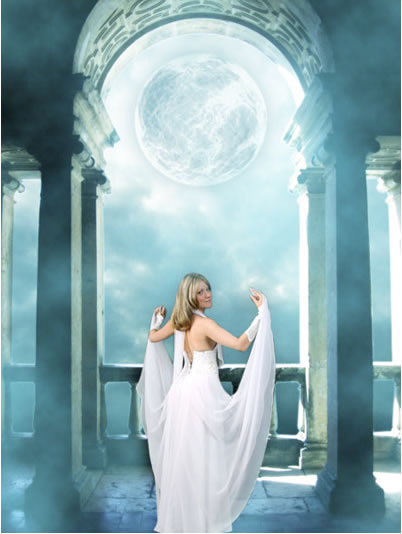
Choose color #8BBCC8 then apply brush to picture like this:
prev < 1 2 >next