
Beautiful Morning Haze (page 2/2)

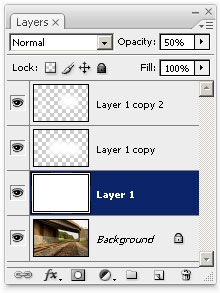
Select the second layer.
Right mouse click on the image to display the brush options. Increase the diameter of the brush to about 3x the size you were using.
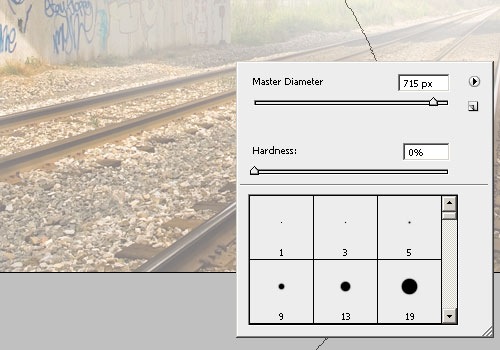
Erase just the very foreground of the image that's within a few meters.
Color correction
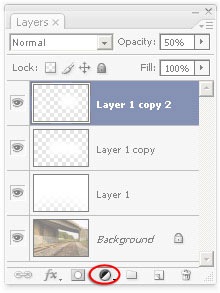
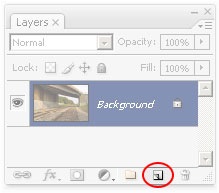
The image looks quite white and lacking color right now so we're going to add a Photo Filter adjustment layer to correct this. Select the top layer then in the Layers Palette, click on the new adjustment layer button.
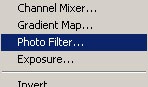
Select Photo Filter.
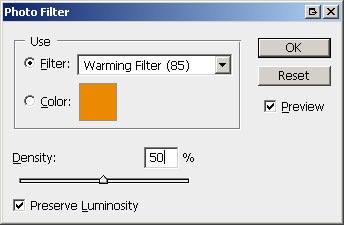
The Photo Filter window will appear. Copy the settings below and click OK.
In the Layers palette, click on the blending mode drop down menu.

Select Overlay.
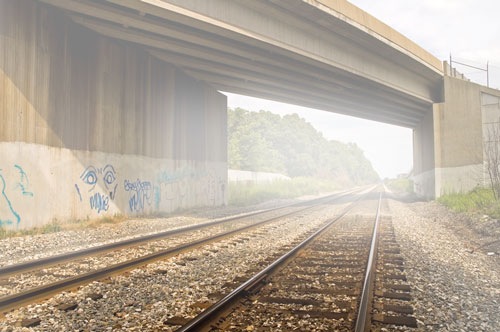
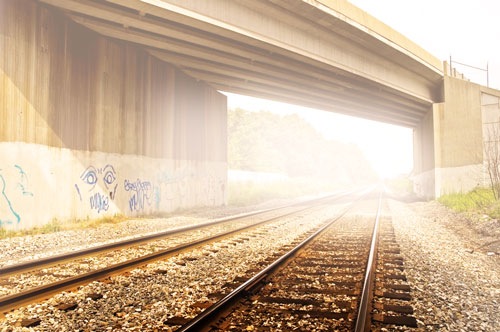
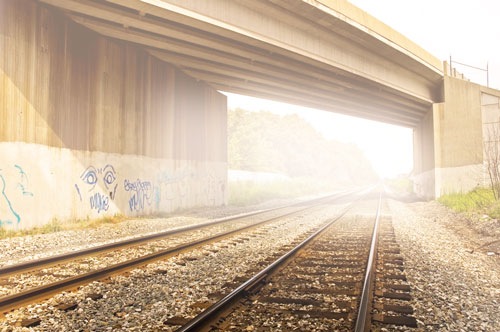
Here's what your image should look like now. There should be an strong orange tint.
Select the Eraser tool and the brush size should be the large brush that you used previously. Make sure that the layer mask in the Layers palette is selected and then erase the foreground the same way you did with the final fog layer.

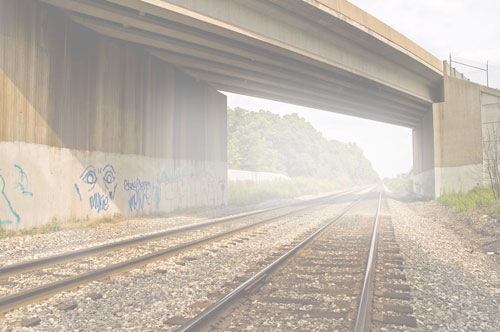
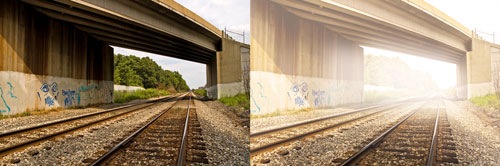
Finished Results
Before and after:
source : http://freeonlineclasses.net