Beautiful Morning Haze (page 1/2)

Make your normal landscape photos look memorable. Follow this Photoshop tutorial to learn how to add a mystical morning haze to any photo.
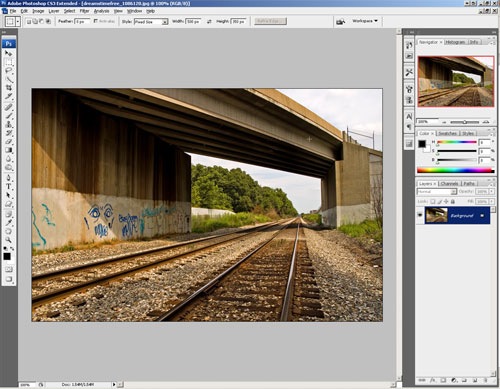
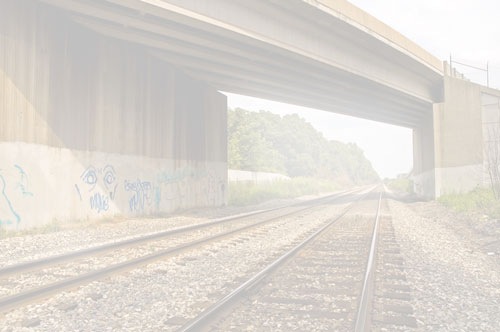
Begin by opening a photo into Photoshop. For best results, pick a photo with a strong vanishing point such as the image below:
Creating the fog layers
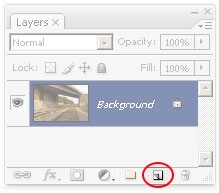
The first step is to create the layers for the fog. In the Layers palette, click on the new layer button.
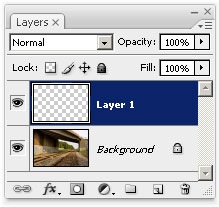
You should now have a new layer.
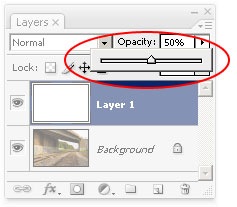
Now we need to fill the layer with white. But before we do that, make sure that your color palette is set to the default colors. Simply press D to reset the foreground and background colors to the default.
![]()
Press Ctrl+Backspace to fill the layer with the background color (White).

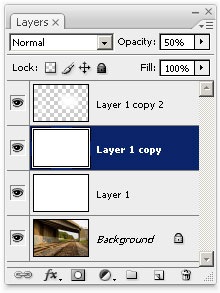
Now reduce the opacity of the layer to 50%. This can be done in the Layers palette.
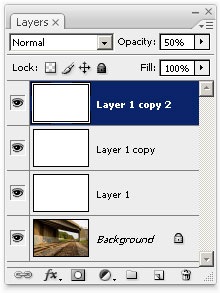
To create the fog effect, we'll need three layers; one each for the foreground, middleground, and background. Select Layer 1 and press Ctrl+J twice to create two duplicated layers. You should now have 4 layers.
Select the Eraser tool from the toolbar.
![]()
Right mouse click on the image and the brush settings should appear. Set the brush to a large size that will take up approximately 25% of the width or height of your image (whichever is longer). Set the hardness to 0%.
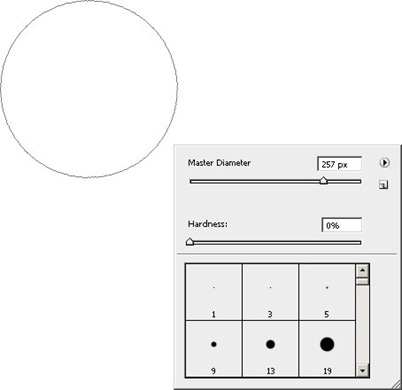
Look at the option bar at the top and make sure that the opacity and flow are at 100%.
![]()
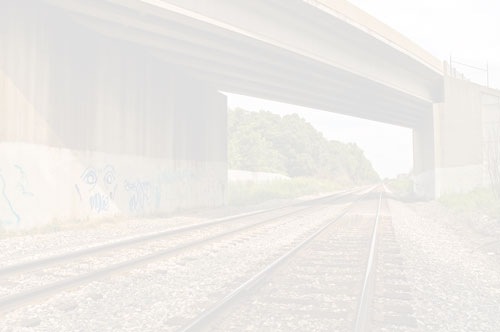
This is what your image should look like: a photo with a white tint.
Erase everything but the foreground and middle-ground and you should now end up with an image like this:
Select the layer below.