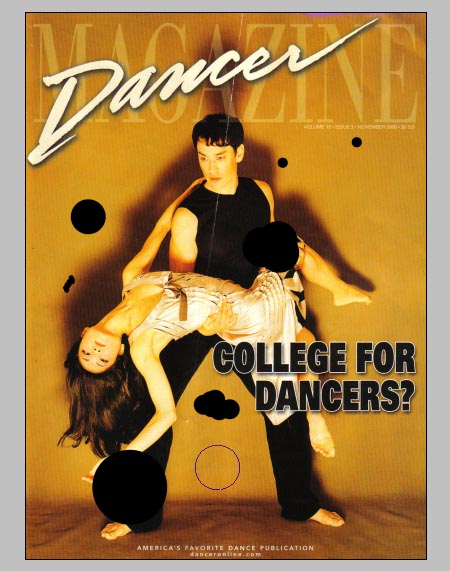
Water Drops
psfanatic.com

STEP 2: First create a new layer. Then select
the Brush Tool (B) and paint in a bunch of circles,
these will be water drops. You can make odd shapes like I did too.
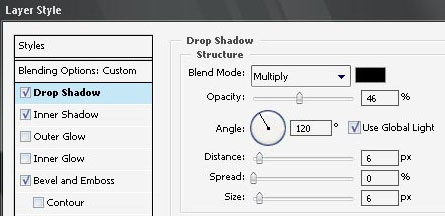
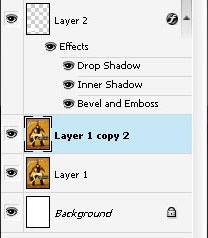
STEP 3: On this layer, go to the Blending
options (or press the Add layer style button) and
add a Drop Shadow with these settings:
Then an Inner Shadow:
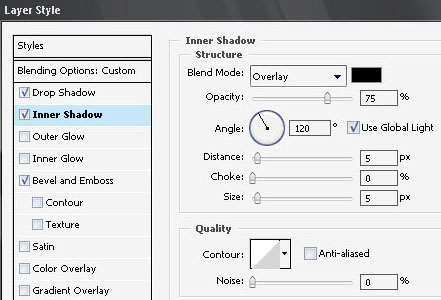
Finally a Bevel and Emboss:
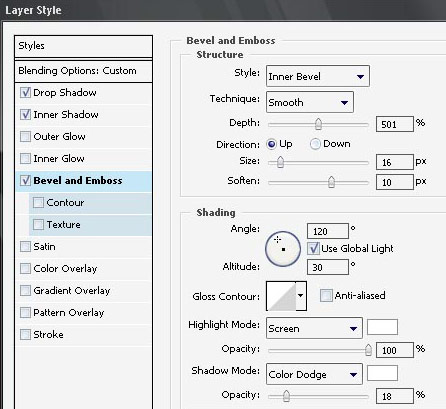
Reduce the Layers Fill to 20 %
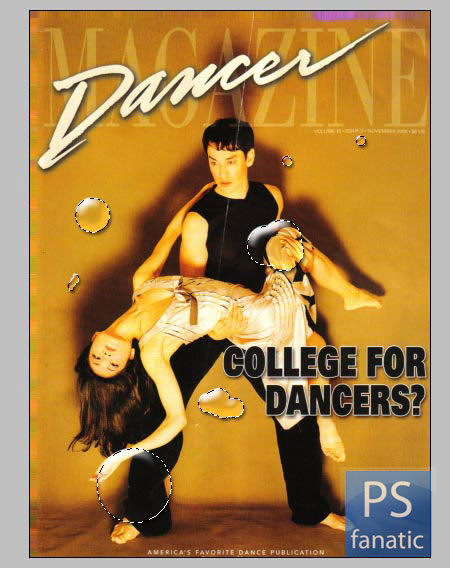
This is what you should get, nice clear water drops. Now its
time to add some special effects.

STEP 4: Press CTRL and click the water drops
layer so that it becomes an active selection like so.

Go to Select -> Save Selection and give a name to your
selection (we use Alpha 1′). Make sure Channel is
set to new.

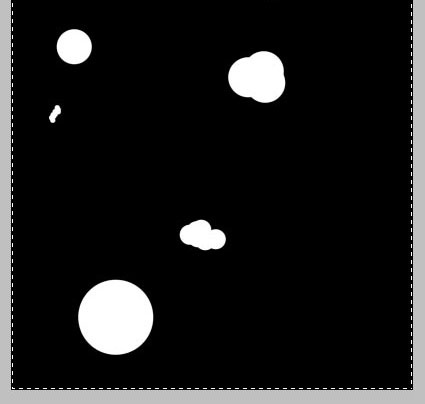
STEP 5: Now lets take a look at your Channels
tab. This tab is located just to the right of your Layers tab.
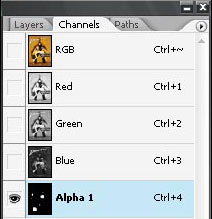
If you only view the Alpha 1′ channel (which is what you got
when you saved the previous selection) this is what you should see.
Now select everything by doing CTRL+A.
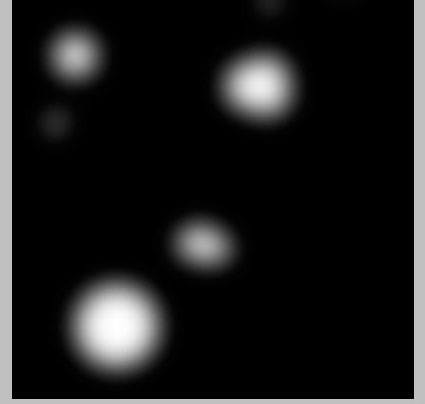
STEP 6: Go to Filter-> Blur -> Gaussian Blur
and apply a setting of around 20-30. You should get something
similar to what I got here:
STEP 7: Keeping the selection, copy it (CTRL+C).
STEP 8: Go to File -> New and create a new document.
STEP 9: Paste what you coppied (CTRL+V), this is what you should see with your new document. Now go to File -> Save and save it as a .PSD file and call it map. You may now close this document.
STEP 10: Now go back to the original document
and duplicate (CTRL+J) the image layer (the magazine cover). Your
layer palette should look like this.
STEP 11: With your new layer selected go to Filter -> Distort -> Displace, and after press Ok, it asks you to select a .PSD file. Find the file you just saved (in this case, map). You may see a distortion throughout your whole document, what we are going to do now is only make that distortion visible beneath the water drops to represent the distortion you would see in real life beneath water.
STEP 12: With the new copied layer still
selected, Press CTRL and click the water drops layer so that its
selection is active on this layer.
Click Add Layer mask button
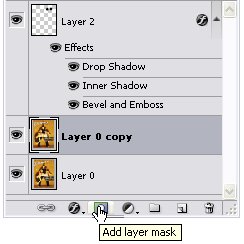
This will make the distortion only visible beneath the water droplets.
Final Result