Smooth Skins

This tutorial will show you how to edit people's faces to smooth out their skins, just like how models are edited in magazines.
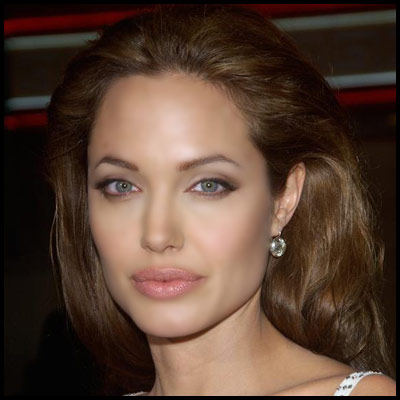
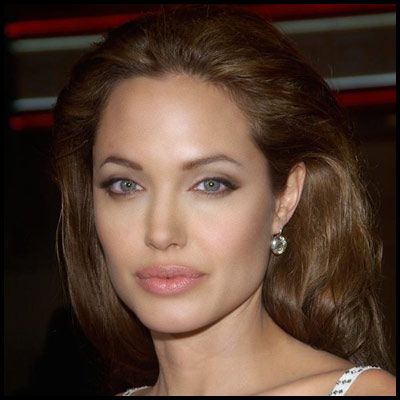
To start off, lets open up the picture you want to edit. Im
working on this 
First, we need to duplicate the layer, so lets go ahead and right click on the layer in the layers pallete and select "Duplicate Layer".
Now we need to select the area we want to smooth out, in this case, we want to smooth out the face, but we want to leave the eyes, nose and mouth intact so it looks genuine. So start by switching to the quick mask mode by clicking on the "Edit in Quick Mask Mode" button in the tool box.
Then select the Brush Tool, and set the brush size to 35 soft edge. (brush size will depend on your image)
 Press
"D" to reset your colors. Now use your brush and paint over the face,
the painted area will become your selected area. The painted area
will be red as you can see below. Continue and paint around her face
until its covered like mine. You may need to change your brush size
to a smaller size to cover the tighter areas.
Press
"D" to reset your colors. Now use your brush and paint over the face,
the painted area will become your selected area. The painted area
will be red as you can see below. Continue and paint around her face
until its covered like mine. You may need to change your brush size
to a smaller size to cover the tighter areas.
Tip: If you accidentally paint outside the area you want, press "X" (switches colors), then just go over the area you want to erase, then press "X" again to go back to painting your selection.
Now that you have selected your area in quick mask mode, exit the quick mask mode by pressing "Q" or clicking on the "Standard Mode" button (Next to the Edit in Quick Mask Mode button)
Now you should have a selection, around the face.

Now, go to Select->Inverse, then
Select->Feather, and enter about 10px.
Tip: You can hide the "Marching Ants" lines so you can have a better
view of the image by pressing "CTRL+H"
Now go to Filter->Blur->Guassian Blur. Set radius to about 3 pixels.
That is looking too smooth, which make it look rather unrealistic, so lets put some texture back into the skin. Go to Filter->Noise->Add Noise. For amount, put about 2.5%, Uniformed and Monochromatic selected.
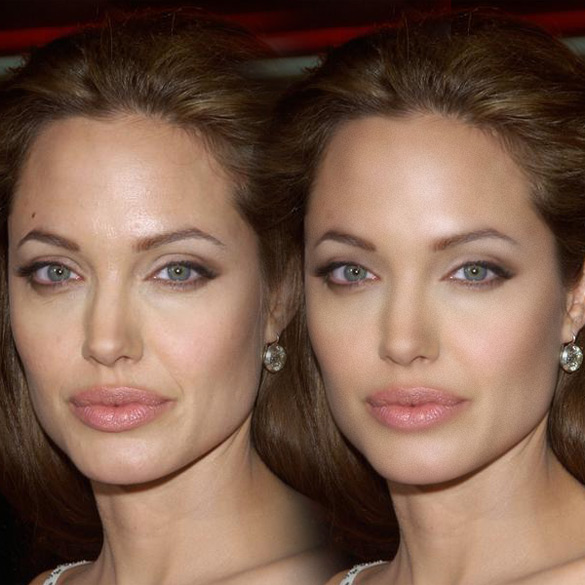
That's it. Here are the original and edited version side by side.