
Photoshop Picture to Sketch

Photoshop is really a very powerful program to do almost whatever you want with your images, but you have to use many of its tools together to get the effect that you want. Learn how to change a picture to a sketch in easy steps.
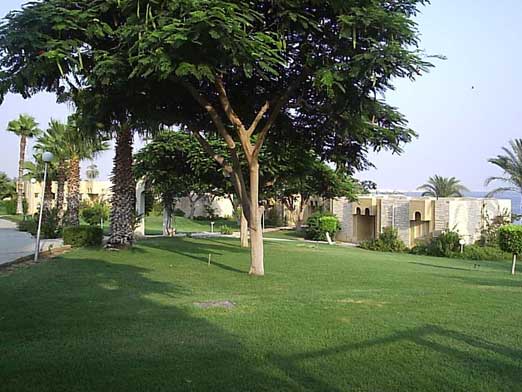
- Choose a picture that will look good when turned into a sketch, either a landscape or a portrait.
- Duplicate the background layer by selecting it in the layers window and pressing (Ctrl+J) so you can revert to the original if you did not like the result.
- Select the new layer and click Filter > Sharpen.
- Press (Ctrl+Shift+U) to turn the layer into black and white.
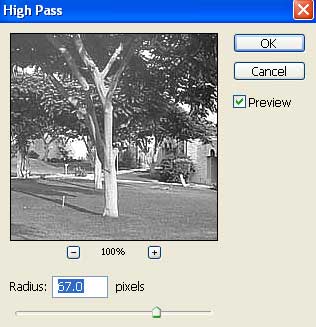
- Click Filter > Other > High Pass, the value you enter for radius depends on your image. Try to choose a value while watching your image so you do not have neither too much gray nor too much white in the picture, notice that the value you choose here has much effect on your final result.
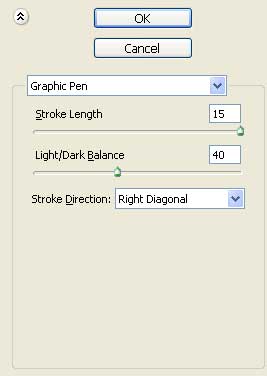
- Click Filter > Sketch > Graphic Pen. Play with the "Stroke Length" and "Light/Dark Balance" until you get good results. I have chosen 15 for "Stroke Length ", 40 for "Light/Dark Balance" and "Right Diagonal" for "Stroke Direction".
This is all you have to do to turn your picture
into a sketch.
The Sketch:
source : www.tutorialroom.com