Pop Art
www.photoshoptalent.com

step 1
Remove the background of your portrait photo.
1-Make a rectangle:
file>new
and then type in the number of pixels or inches or cm you prefer. I
used 36x47 cm.
Use the eyedropper to pick a bright color and fill the rectangle
with the paint bucket.
2-Use the rectangular marquee tool to make a smaller rectangle (a
few mm smaller than 1/4 of the big rectangle) inside the big one.
3-4-Make four rectangles that size and give them each a different
bright color.

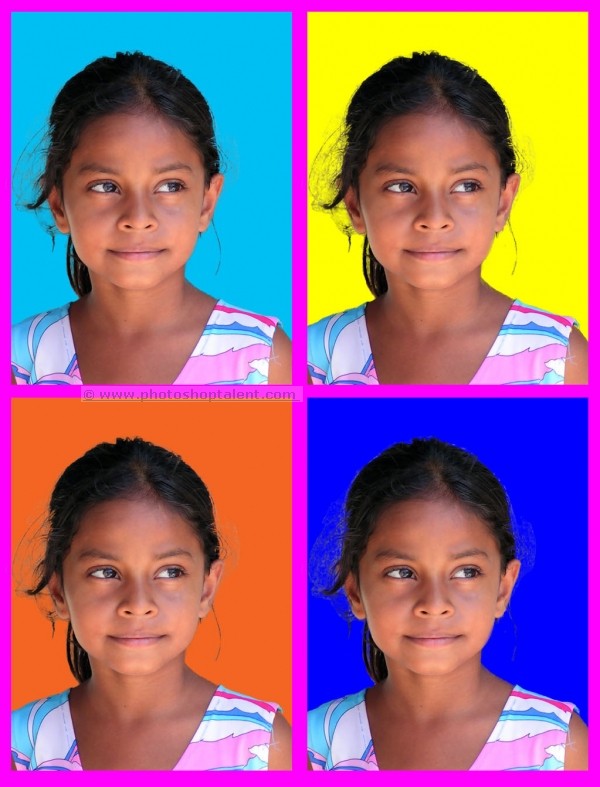
step 2
Copy/paste the portrait in each rectangle. Resize
it so it will fit the rectangle perfectly.
edit>transform>scale (press shift while change the size to keep the
proportions)
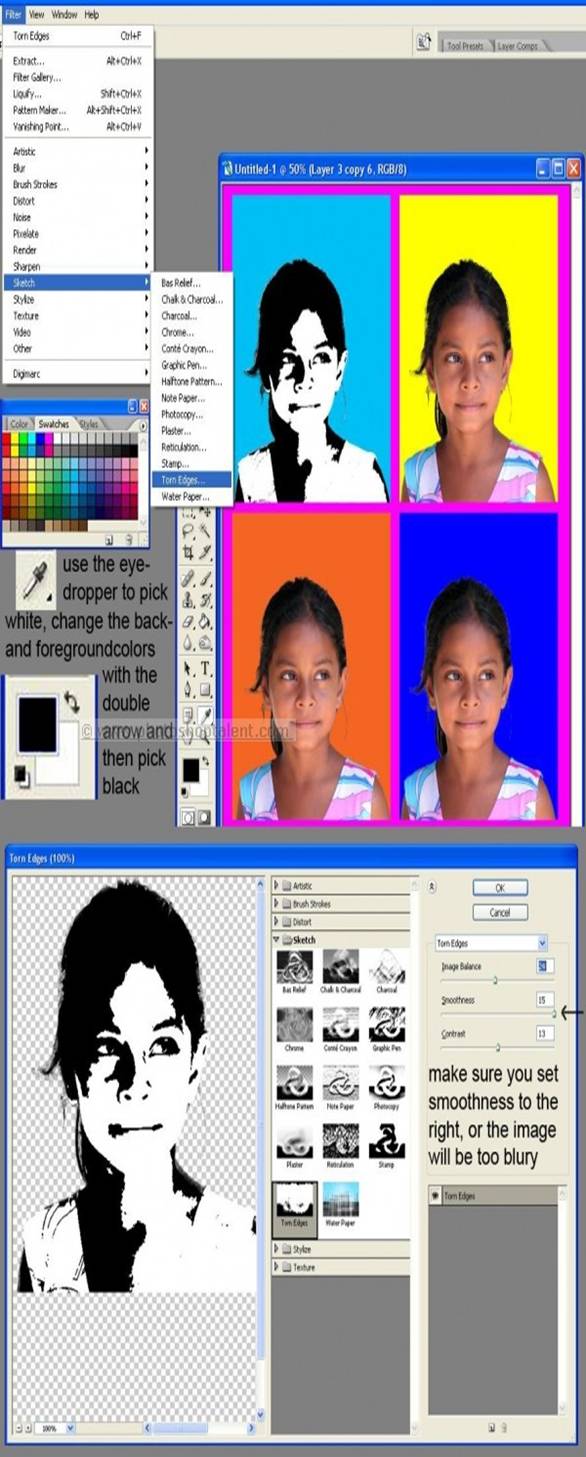
step 3
Highlight the portrait layer in the layer window.
Use the eyedropper to put black in the foreground box and white in
the background box.
filter>sketch>torn edges
Change the balance, smoothness and contrast to get the perfect black
and white image.
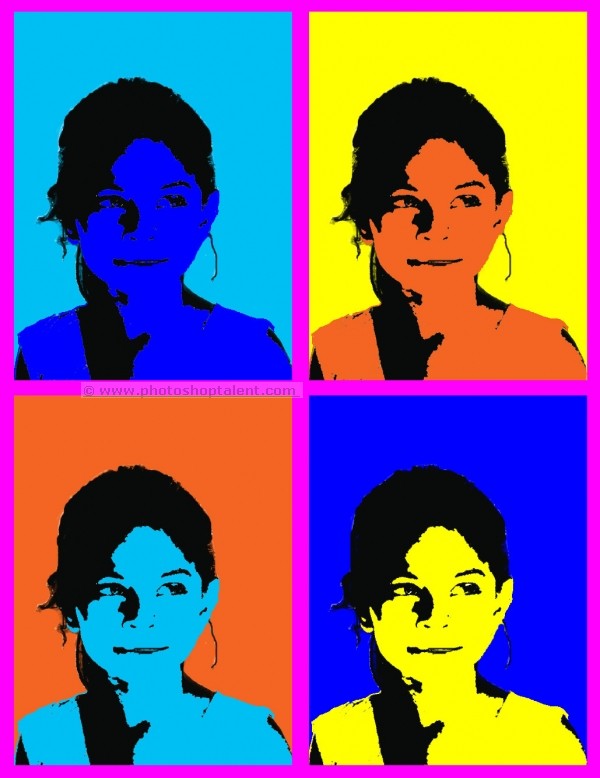
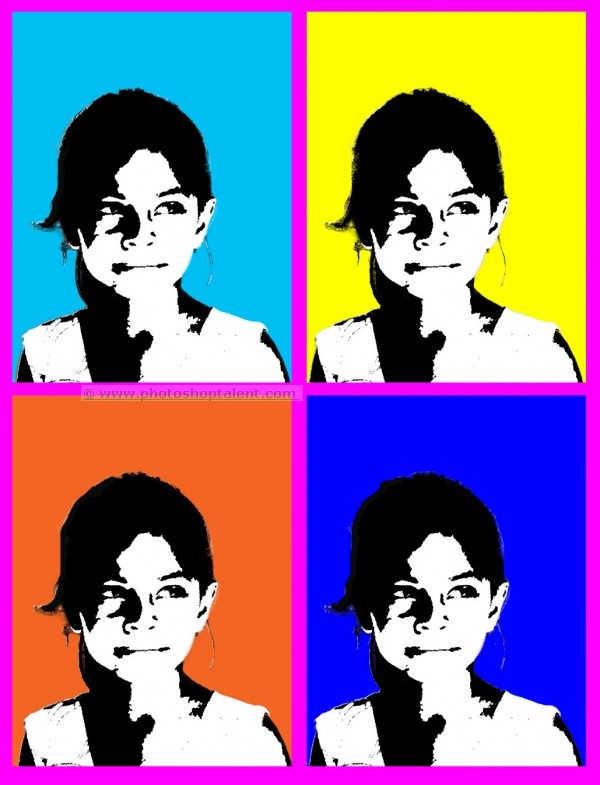
step 4
The result of the "torn edges" filter.
step 5
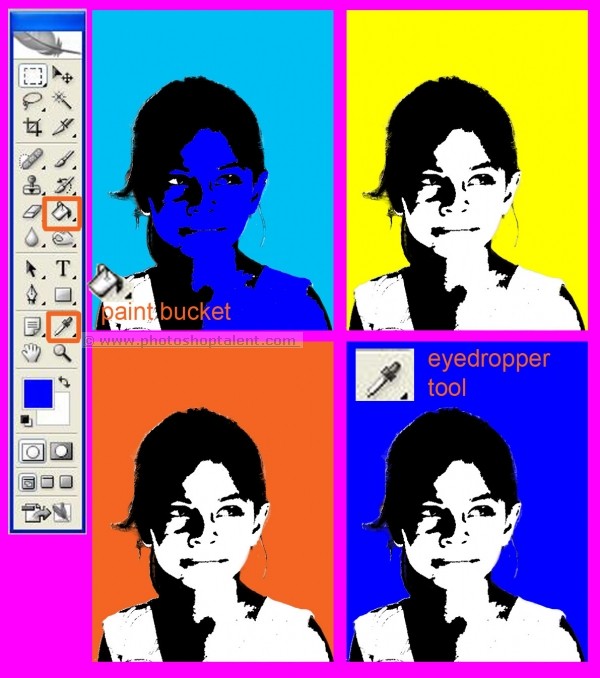
Use the eyedropper to pick a color (you can go with the 4 background colors or go with 4 new colors) and fill the white parts with the paint bucket tool.
step 6
All done.