|
Lip Gloss
In this tutorial, we'll learn the step-by-step procedure for applying lip
gloss or lipstick to a person's photograph. Aside from the benefit of
seeing what one might look with a different shade of lip color, it's also
great for make-up artists when they are designing for film projects or
modeling appearance.
Step-by-Step Instructions:
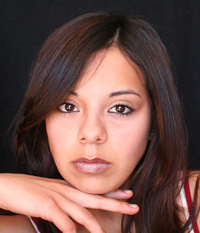
1. Open in Photoshop a photograph of a person. Make sure that the lips are
clearly visible in the photo so that they are easy to work on. I find that
a front portrait shot works the best.
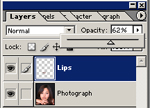
2. Name the photograph layer "Face".
3. Create a new layer over the "Face" layer and name it "Lips".
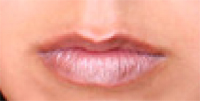
4. Zoom in close to the lips to get a better view. When you are zoomed in
close, it also allows you more precise control when applying the lip
color.
5. Select the Paint Brush tool and a lip color that you would like to
apply to the lips. Choose a brush size that will give you greater control
for painting over the lips.
6. Set the opacity for the Paint Brush to 50%.
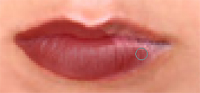
6. With the "Lips" layer active, begin coloring in the lips with the Paint
Brush tool. Try to stay within the borders of the lips and not overlap
onto the surrounding skin of the subject's face.
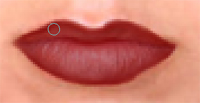
5. Next, outline the lips with a darker version of the same lip color. Use
a smaller paint brush to be more precise with the outline.
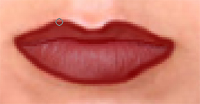
6. Now select the smudge tool, set the Strength to around 40%. Then begin
blending the dark outline of the lip color with the color of the lips. (If
any color went over the edges of the lips, simply use the eraser tool and
erase along the edges to clean it up.)
7. If you want, you can adjust the Opacity settings of the "Lips" layer to
lighten the shade of the lip gloss. It's up to you.
8. Congratulations! You have just learned to apply lip gloss to the lips.
|