
Desaturated 'Gothic' Look

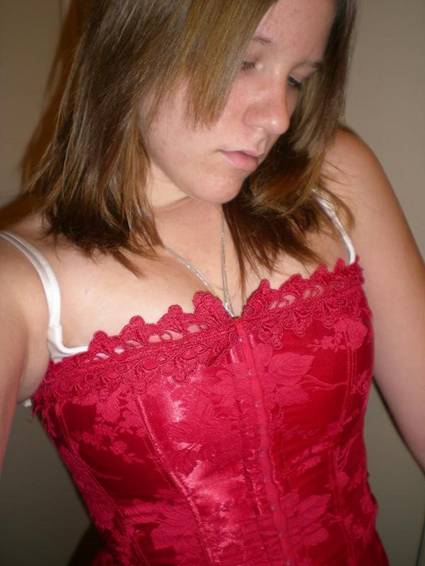
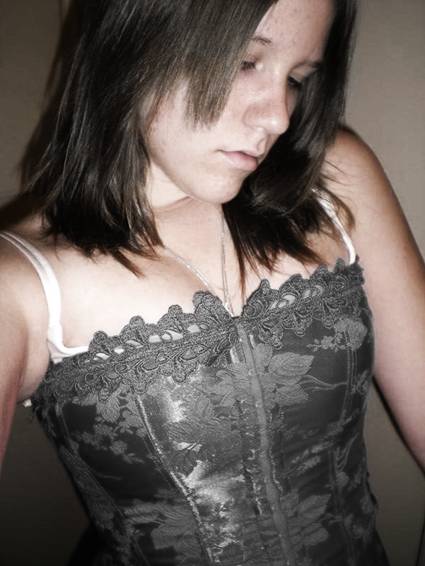
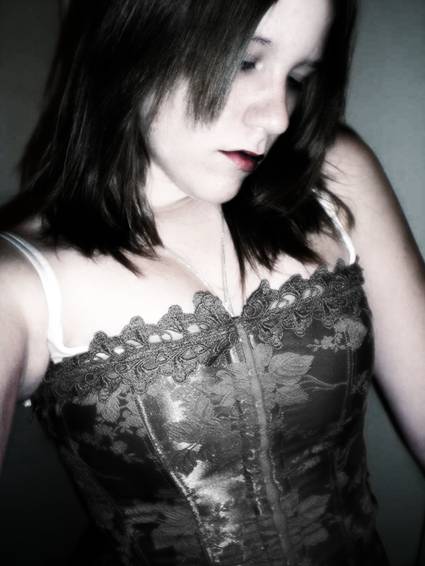
This will be my starting picture:
Now honestly at this point. I have no idea where I'm going. I'm
literally writing this as I do it, and I have no clear end image in
mind. So this could end up failing hard, we'll see!
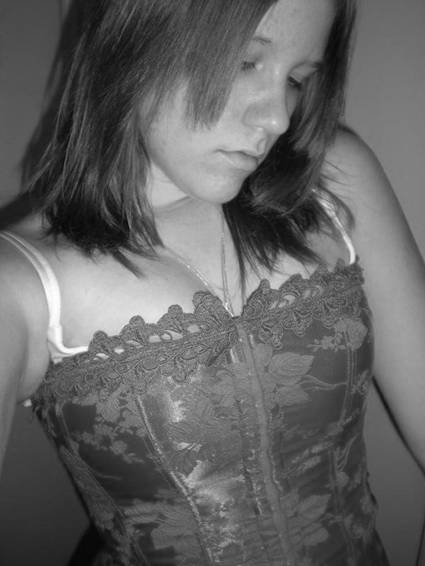
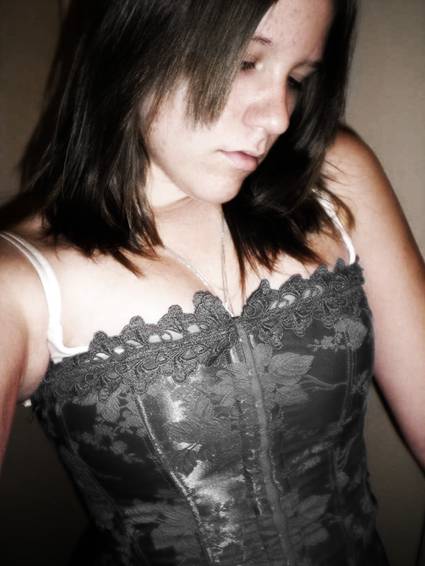
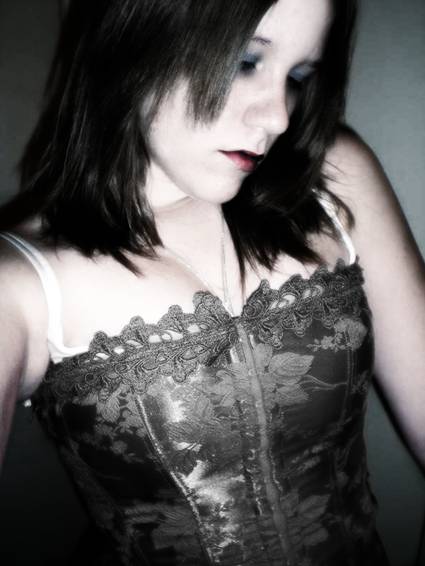
First thing I'm going to do is prep the base picture. Mainly, I'm
gonna change her hair and corset color (like always) to black. I
figure it'll help when I try to shove blue into the image after
desaturation.
I'm simply going to add a black and white adjustment layer, and mask
it off from there. So click on.. Layer -> New Adjustment Layer
-> Black and White. Hit okay, or tweak wiyh the color settings.
We now have:
Now look in your layers pallet. The black and White adjustment layer
should have a layer mask indicated by a white square:
![]()
Click on that square, and your colors should switch to B/W. Now if
you've never worked with layer masks before here's the crash course.
White means visible, black means invisible. Shades of gray will have
shades of opacity.
Take your favorite brush, and make sure it's black. Then paint ON
the layer mask, areas you don't want to be.. black and white. I'm
gonna use a 28 size Hard-Edged brush.
Then I'm using a Size 3 brush to get close to the edges.. and
finally a Size 4 Soft-Edged brush to lightly paint the edges in.
For the hair I used some scattering with my tablet, and shades of
gray.. because..
A) Hair is a pain to mask off.
B) I wanted a sort of highlight-y mix of brunette and black.
Here's what I've got with the masks:
Remember the only purpose of this is for a base, it doesn't need to
look pretty.
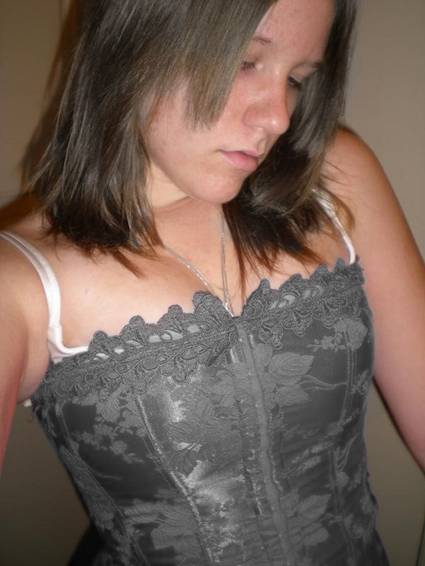
Now I'm going to boost the shadows so.. go to Layer -> New
Adjustment Layer -> Black and White again, hit ok, and set the
blending mode to Overlay.
Now we have this:

Now I'm going to select my original image, and make a copy of it,
Layer -> Duplicate Layer.
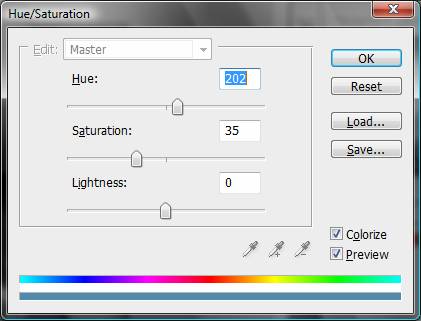
Now open the Hue/Saturation menu on that layer by going to Image
-> Adjustments -> Hue/Saturation.
I'm going to use these settings:
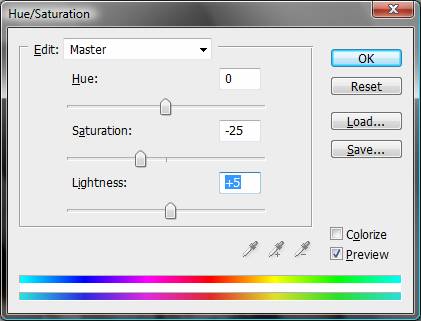
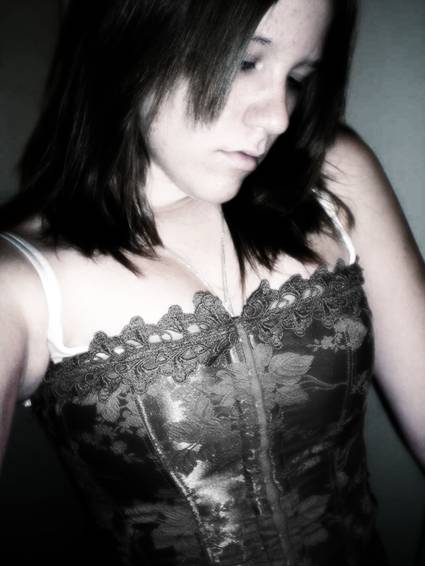
The lowered saturation is again for base. The addition of lightness
is to help get that Pale look:
Now duplicate that layer you just desaturated, and Duplicate it
again. Go up to Filter -> Blur -> Gaussian Blur. I used a
radius of 2.1 pixels. I then set the blending mode to Soft
Light:
Now on the same layer, open up the Hue/Saturation menu again, and I
used these settings:
Don't forget to check colorize!
Alright, now I'm going to experiment with a couple ways to make her
more pale.
Eventually I decided to go this route..
Duplicate the original image, or the desaturated one. Move the layer
to the very TOP of all other layers. Now with that layer selected,
hit Ctrl + Shift + U to desaturate it OR go to
Image -> Adjustments -> Desaturate.
The image should have absolutely no color data. Now I'm going to use
Gaussian Blur at a setting of 3.5 Pixels. Then set the
blending mode again to Soft Light.
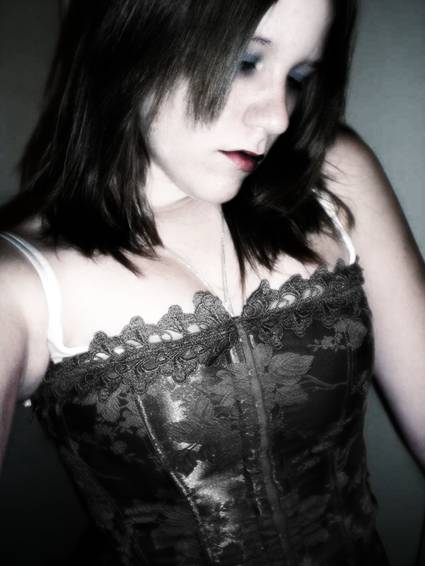
Now, this makes some parts too dark and I don't like it so.. I'm
going to create a layer mask and get rid of some of this layer. You
can make one by going to Layer -> Layer Mask -> Reveal All,
or by just erasing the parts that are too dark, it's up to you. I'm
going to use a mask to lighten up the corners and bring back some
highlight to her hair and clothing:

Now, I'm going to do some makeup work to work the skin, eyes, and
bring out the deep red in the lips.
Create a new layer between the Desaturated Layer, and the Blue
tinted one. I'm going to take a solid black brush, and brush over
her lips. I'm then going to set the Opacity to 75%,
and the Blending mode to Overlay:

Now to help the paleness bit more, I'm going to create a Foundation
layer with an Off-White color: f2eae9
And setting it to Soft Light:
Now I'm going to paint in 36332f
under the eyes, and set the blend to Multiply:

Next, I'm going to take the color
2e5b82 and brush above her eyes, setting it as usual to
Soft Light:
I'm almost finished I think, I started this almost 2 hours ago.. I'm
thinking the corset isn't dark enough, so..
I'm going to take 3f3e3d and
brush over the corset on a new layer, with all the other 'Make Up'
layers, and set it to Soft Light:
I then set a 1px border of 272a27
ontop of everything, and.. I think I'm done, here you go:

By rezeyu, www.thecorruptedcanvas.com