
Butterfly angel foto effect

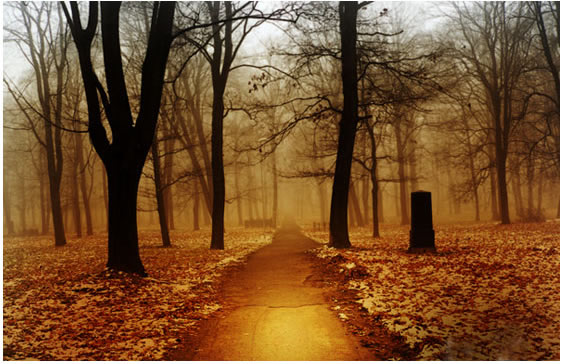
The first, you open this photo then press Ctrl+J to duplicate layer,
apply Blend mode: Soft light
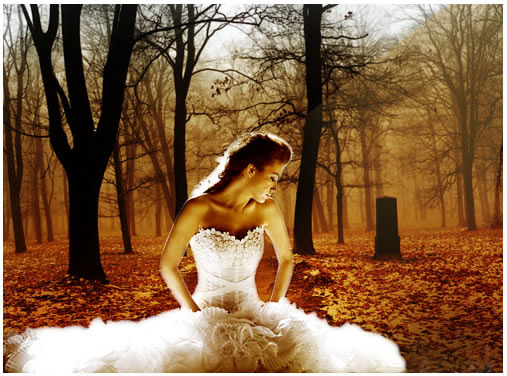
Now you open this photo:
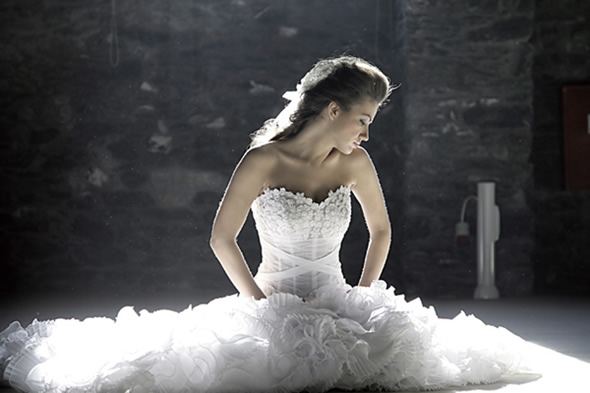
Use Magnetic Lasso Tool to cut the lady out of background
(Feather=2)
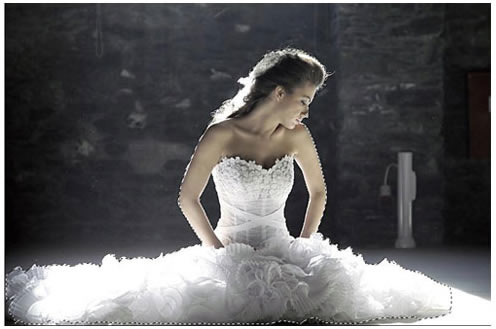
Move the lady to background like this:
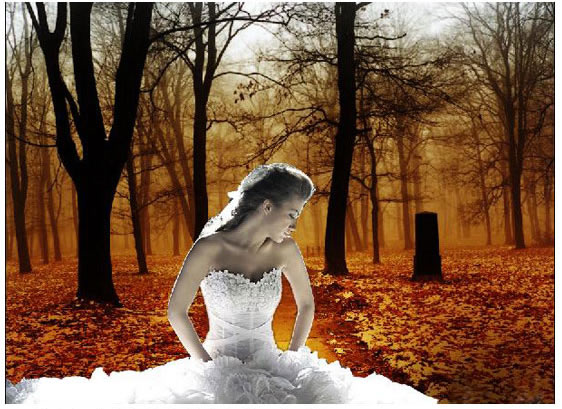
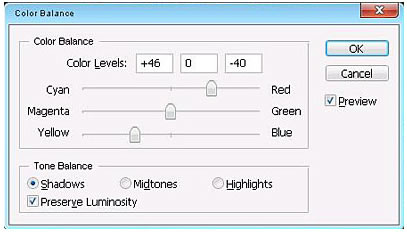
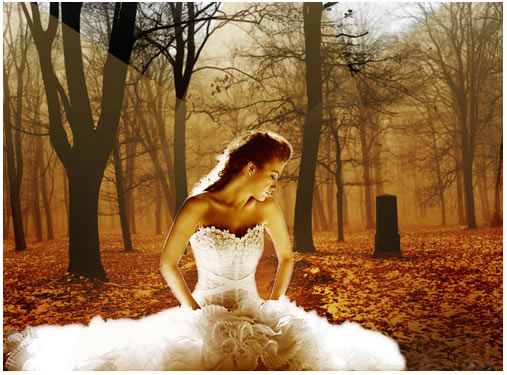
Press Ctrl+B to open Color Balance, adjust some informations to make
the color of lady match background
After adjust Color Balance, you press Ctrl+J to duplicate the layer
of lady, change blend mode of this layer copy: Soft light
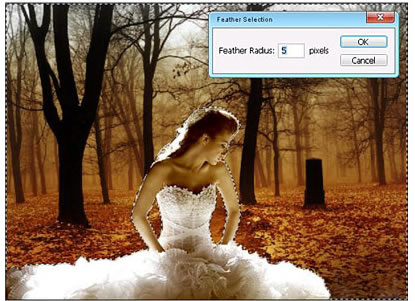
Load Selection of lady (Ctrl + Click on layer of lady) then press
Ctrl+Shift+I to invert selection
Press Ctrl+Alt+D to open Feather Radus box, put 5 pixels into box
Press Delete key to clear
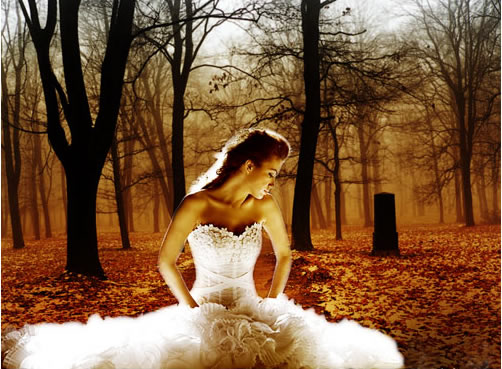
Now you press Ctrl+D to deselect and you will get:
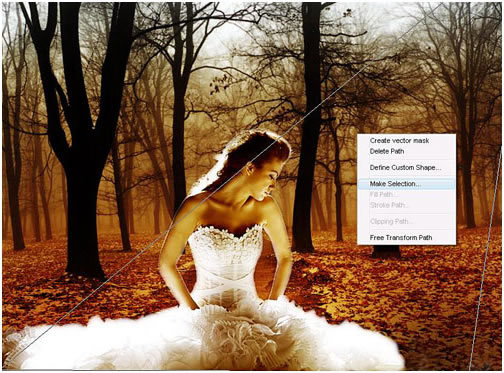
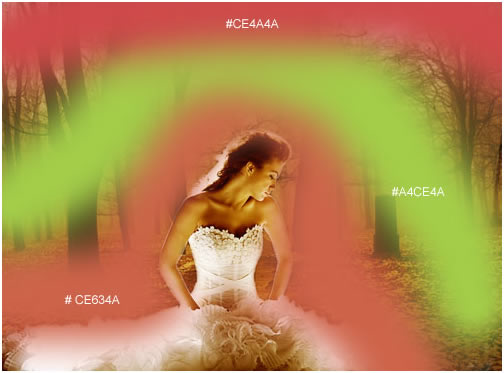
Use Pen tool to draw light downwards, make selection: feather=0
Combine 2 colors #CEA24A + #FFFFFF
On the bar: ![]()
Use Gradient tool to drag downwards, adjust Opactiy=70%, you will
get:
Duplicate light layer 2 times then use Free Transform to move light
to center and left
Use Brush tool 200px and draw like this:
Change blend mode: Soft light:
Pick this brush:
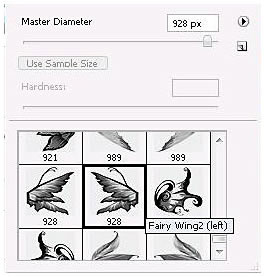
Apply to model like this:
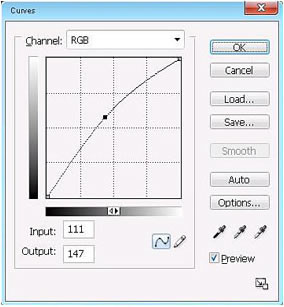
Select layer of lady and adjust curves like this:
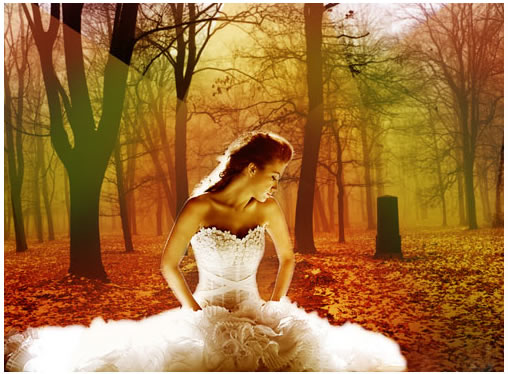
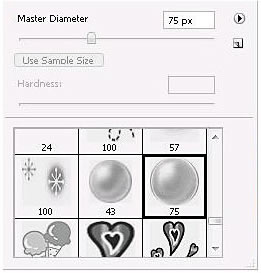
Continue pick this brush, set Opacity 50%:
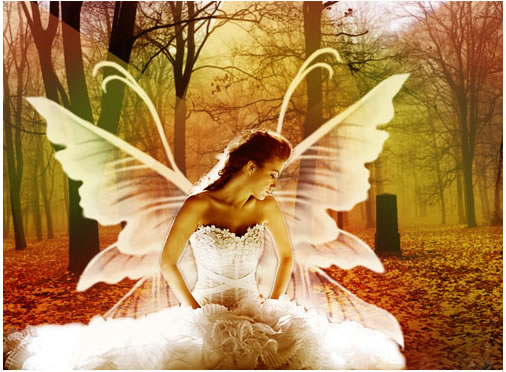
And this is final result:

These are the brushes needed for this tutorials,
click here to download
source : www.tutorialized.com