Easy Way to Earn Dollar from Internet
Want to get $500 per month or more ?
Please, join us .

Bloom in Photoshop (easy tut), how to make your pictures have a bloom effect

This tutorial will show you how to give your image a bloom effect.
It's a fairly simple and quick process that can make your images pop
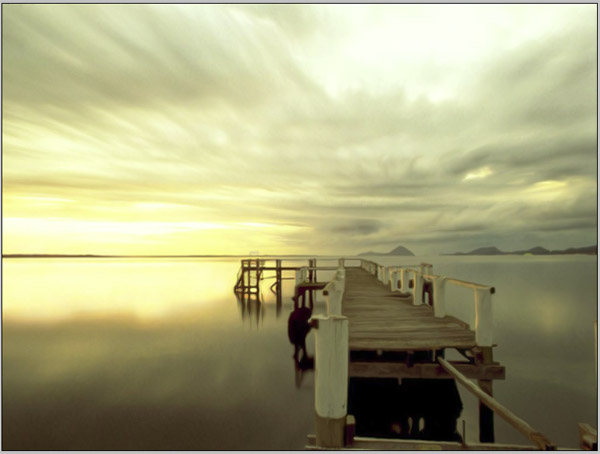
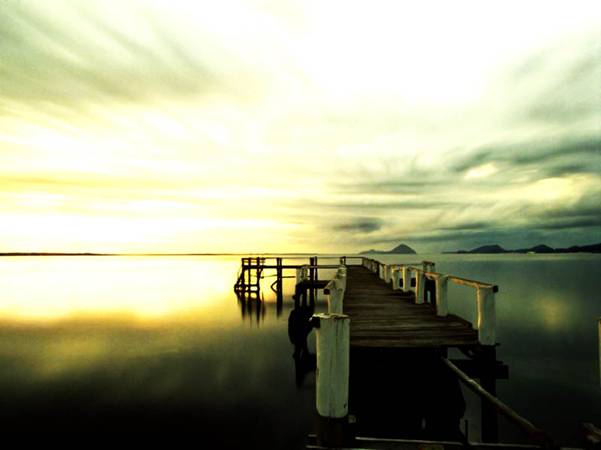
and give them a different perspective. Below is the image I will be
using.

1.) Open up your image in photoshop and duplicate the layer, name
the layers accordingly. I named mine "dock," and "dock copy," but
you can name them whatever you'd like.
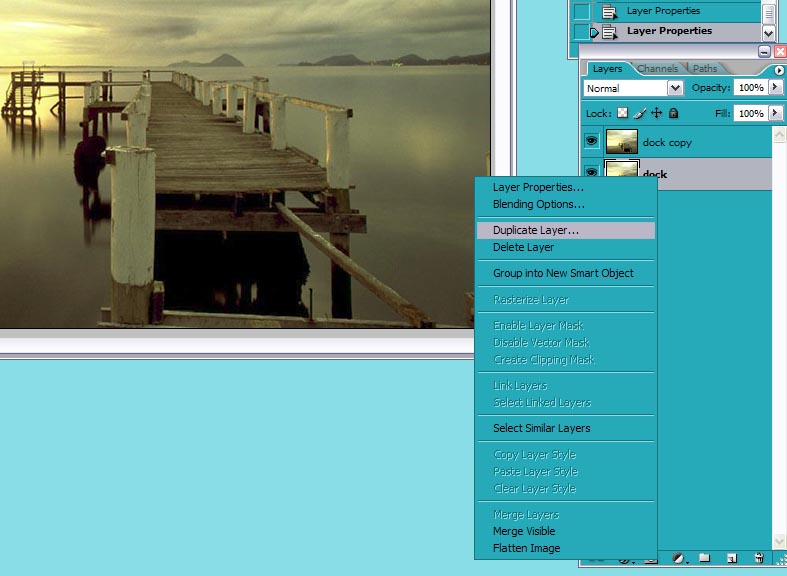
2.) From here, make sure you have the top layer selected, then go to
filter-stylize-diffuse. From here, choose "anistrophic" and press
ok. ( A similar method can also be achieved using gaussian blur
which will allow you more control, but anistrophic setting will look
a bit better).
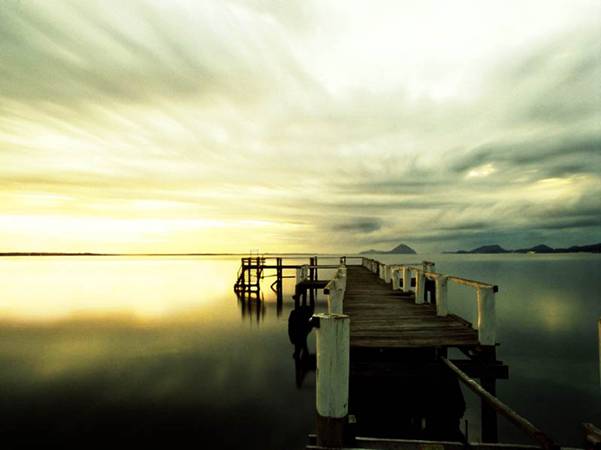
now your image should look like this
3.) Now on the top layer still, go to
image-adjustments-brightness/contrast
Increase your brightness by about 10 - 20 and your contrast by about
20 - 35
I have used a brightness of 11 and contrast of 25
4.) From here, go to your blending modes for your top layer. Choose
either screen to brighten the image, or soft light, or hard light.
Each of these three will give a bloom effect, and you're all set! To
change the intensity of the image, simply play with the opacity on
the top layer.
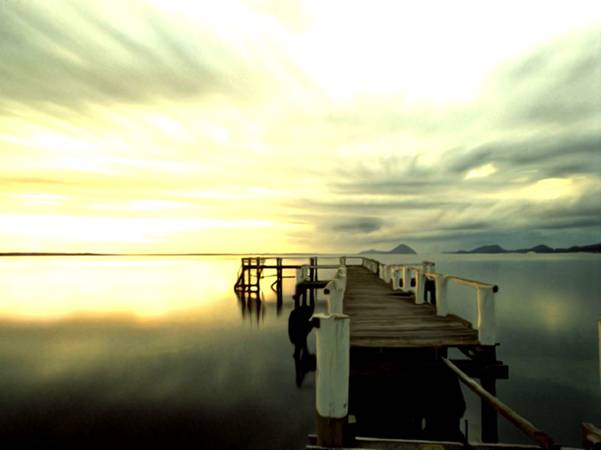
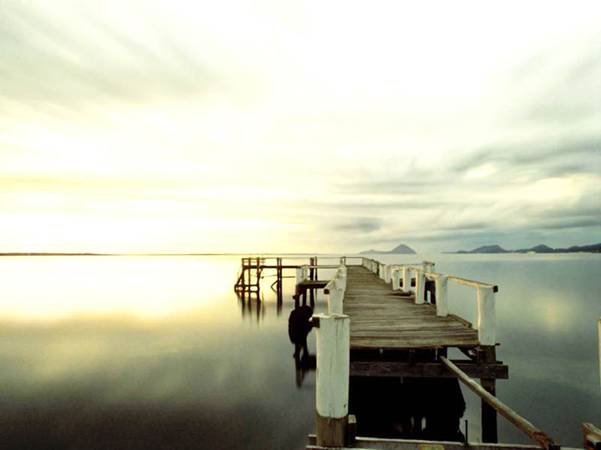
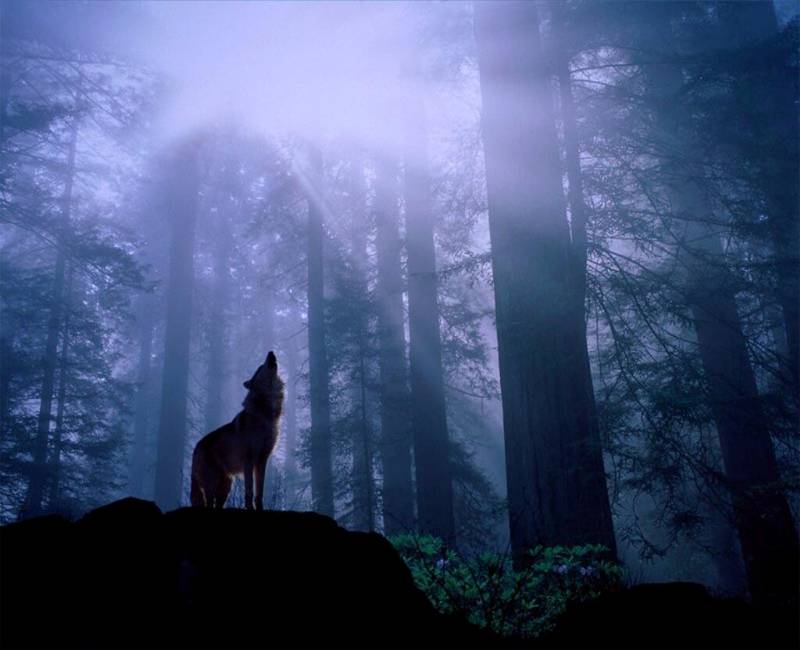
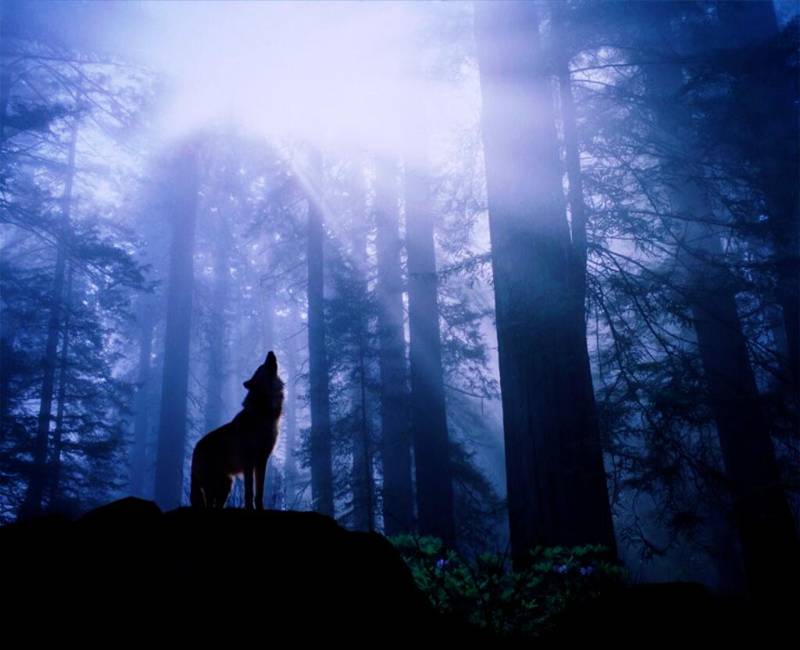
Here is the finished product on hard light.
I have now changed this
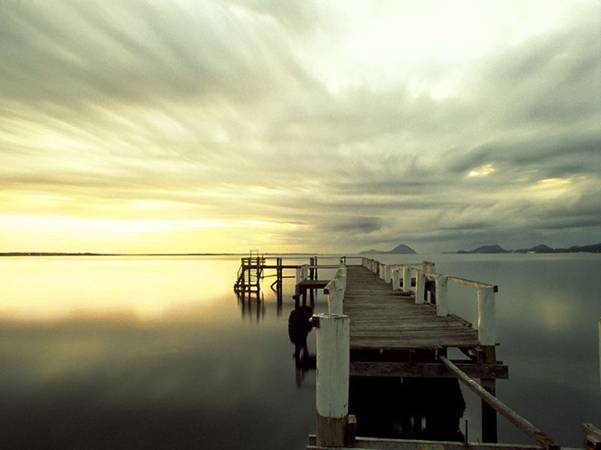
Into these
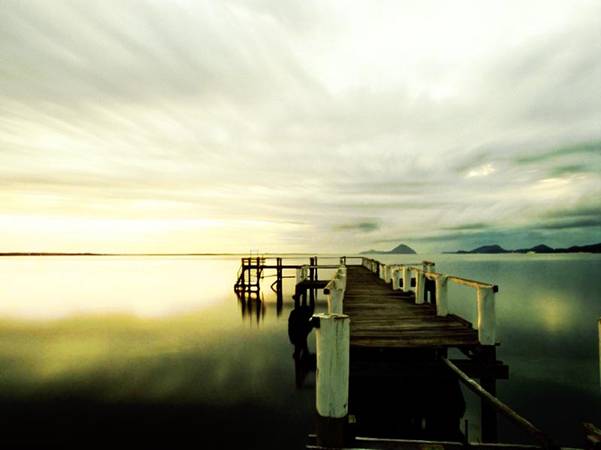
soft light
and screen
then on hard light with more contrast
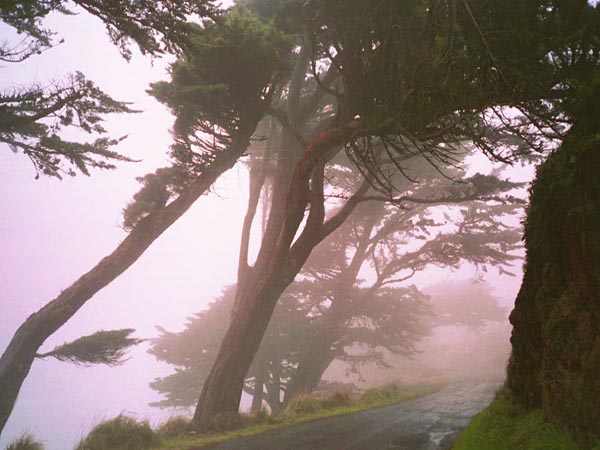
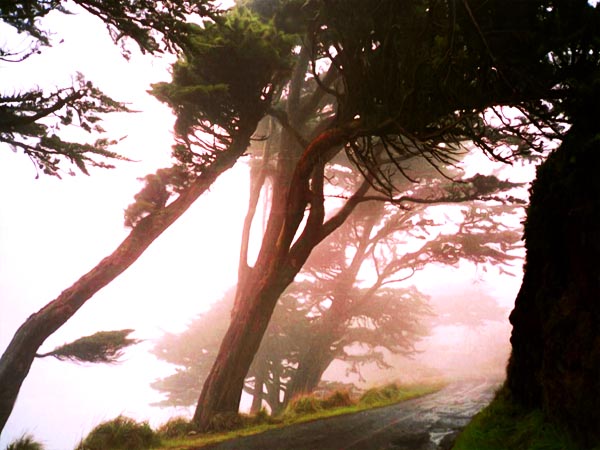
and another example of how this bloom effect can help an image.
from : www.tutorialized.com