

|
Achieve The Indie Movie Look
In this
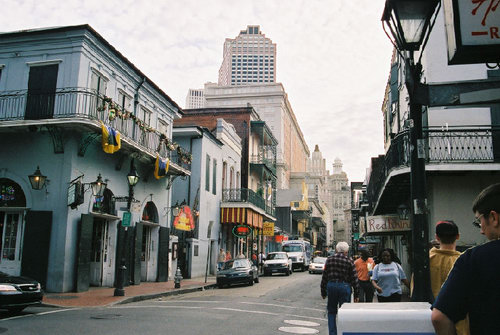
tutorial I will show you how to take an ordinary photo, and make it look
like it's a still from a movie. Now this photo is great as is, but its not
so cinematic. So lets make it cinematic!
The first thing is add a new layer and create to longer black strips
across the bottom, and top. This will give the look of a wide-screen
movie.
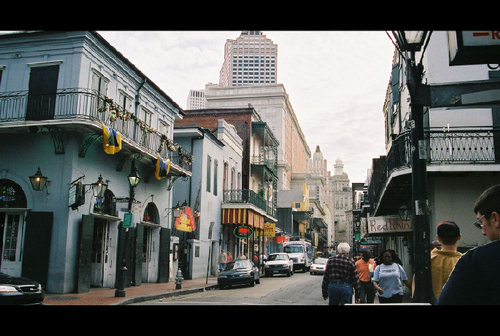
It's already starting to look like a movie still. Now, we just need to add
that movie look. Before I go into the look I have chosen for this photo.
Its nice to know some of the looks. Hollywood has a few looks. The most
famous is a blue hue, but I like the indie looking' style with yellow
hues.

First, we need to add more depth in the photo. Go to
Image>Adjustments>Levels.. Than we need to add to move the slider down
ever so slightly. This is basically how much dark or light you like. I
just made it a little bit darker.
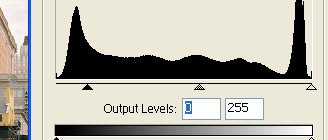
After we made it a little more depth, and darker shadows. Lets get the
colour going. The easiest way to do this is go to Image>Adjustments>Color
Balance..
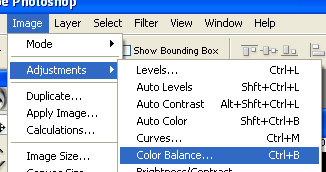
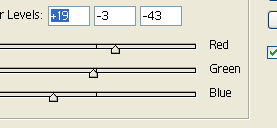
This will open a new window, and you can play with sliders to get the look
you like. Since, I am looking a yellow hue look, I made sure the yellow is
the highest value.
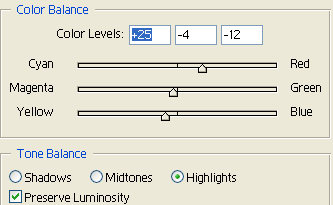
Now, under the sliders you will see a radio button for Highlights. Select
that one, and I made the red the highest value.
Now your done! Hopefully you've now learned something about changing the
look and feel of images using the color balance adjustments :)
|
